Working in a clustered environment was one of the main tasks which I had to go through recently. Before going into an actual clustered environment where I could mess things up I took up the challenge of setting one up on my own. The luxury of going into a commercial virtual server provider was not an option therefore opting to do it locally through a virtual environment was the best solution.
Since I’ve been using Oracle Virtual Box for a quite some time I went ahead and started deploying servers. Although I’ve been managing one or two servers in a virtual box, managing a cluster with 4 nodes and maintaining communication within the nodes into several ports became the problem.
Although using a NAT adapter with port forwarding can be used. Configuring several ports for each server was the problem with maintaining a cluster. Also assigning a static IP address to be used for communication apart from 10.0.2.15 which is used by Virtual Box was also out of options in this method. Then after some reading I figured host only adapter would be the solution for me. This solved the above problems I faced while using NAT adapter.
Initially you will have to add a Host-only network adapter to your virtual box instance. To do so got Preference -> Networks -> Host-only Networks

Here in this panel by clicking the + icon on right hand corner you can add a Host-only adapter to your Virtual Box. Click on the new adapter that is created and do the configurations for IP's that you require. Basically this would use 19.168.xx.xx IP range since it is the private IP address range used.

The IP which will be given default to the Host-only adapter will be assigned to the host that the virtual box is running therefore in this scenario you can use IP addresses from 192.168.56.2 onwards for the virtual servers that you are using. After configuring click OK and start configuring a server.

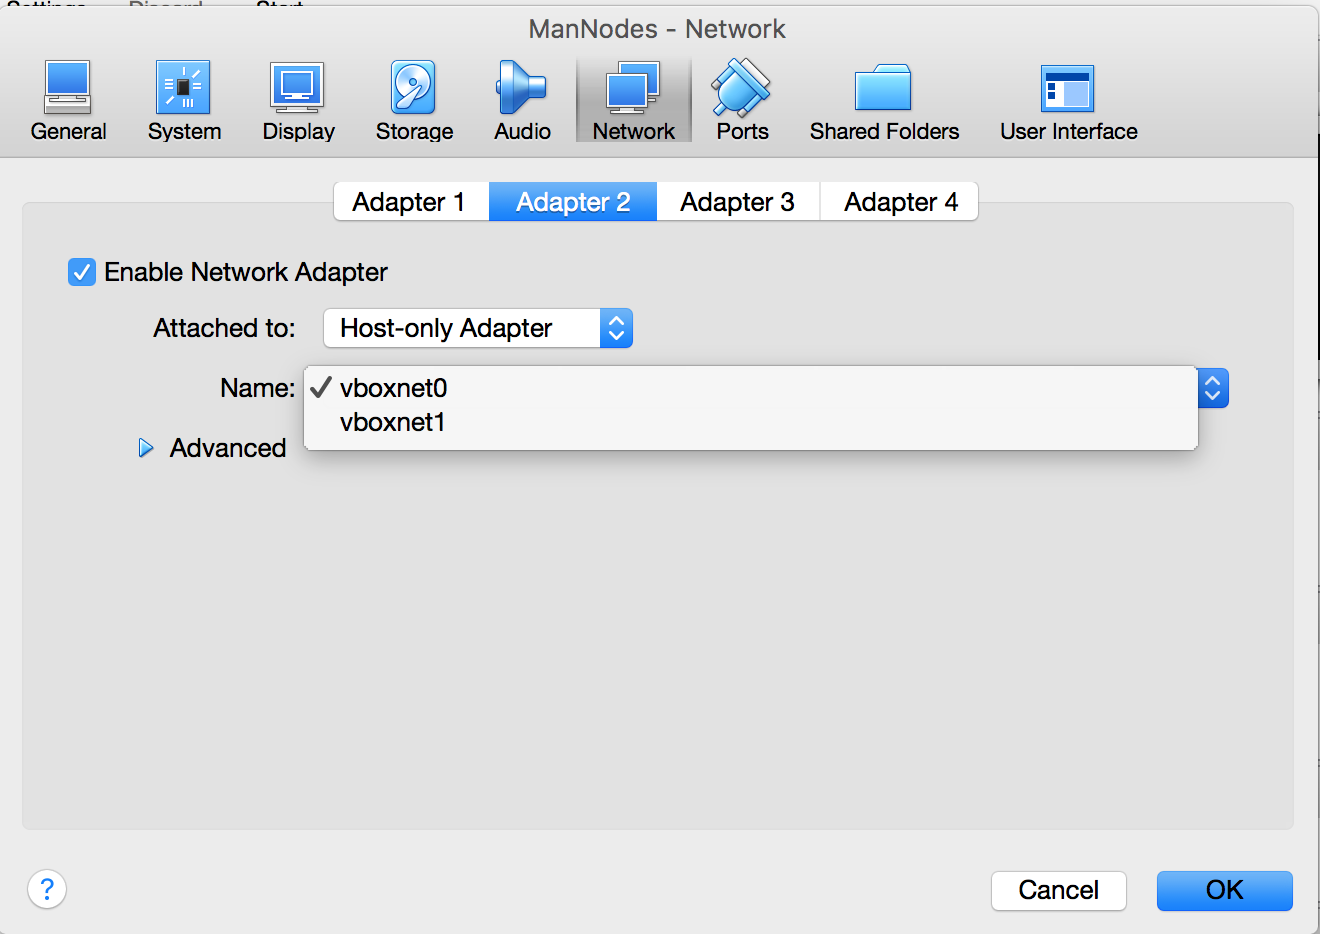
Choose the server that you want to add the network to and select Settings -> Network -> adapter 2 (We will keep the adapter 1 as NAT since this wouldn’t be a blocker to go ahead and can be used for initial setting up and debugging without the new port we are adding).
Select Enable Network Adapter and Under Attached to drop down select Host-only Adapter and assign the Name with Host-only adapter created above.
Click Ok and we are ready to start the server. For this task I have been using ubuntu server 14.04 and the configurations in the server maybe a bit different to the OS version that you are using.
After starting the server run ifconfig command and you will only see eth0 port which is bound to 10.0.2.15 as inet address. Open /etc/network/interfaces and add below configurations to it after eth0 interface
auto eth1
iface eth1 inet static
address 192.168.56.4
netmask 255.255.255.0
network 192.168.56.0
broadcast 192.168.56.254
Save the file and run ifconfig eth0 up. It will setup the new interface with the relevant IP address. You can check it by running ifconfig and you will see below. Try pinging the IP you’ve assigned from your local host and confirm that IP is assigned properly.

Do this for all the servers with several IPs and enjoy the luxury of a cluster which is running under a set of IPs that would be used to ssh, clustering, load balancing and etc.
No comments:
Post a Comment